
 Aspen is a pup that wears many hats, figuratively that is, she hates wearing literal hats. She’s an a dventure pup, crazy lady, little spoon, and one of her favorites – powder hound. However, her rib-cagey features don’t retain heat well, which is what inspired my latest pup project – a down jacket.
The materials I used were leftover from her DIY: Adventure Pup Sleeping Bag, which I got from Rip Stop By The Roll. And just like that DIY, this tutorial is aimed at folks with a base knowledge of sewing and access to a sewing machine.
Materials for Aspen’s down jacket:
– 1 yard of 1.9 uncalendered ripstop nylon (Robin Egg Blue)
– 1/2 yard Primaloft Gold 3 oz (ordered yard and use half of the full sheet)
– Gutermann MARA 70 thread (Robin Egg Blue)
– 5 buttons
– 25 inches of round elastic cord
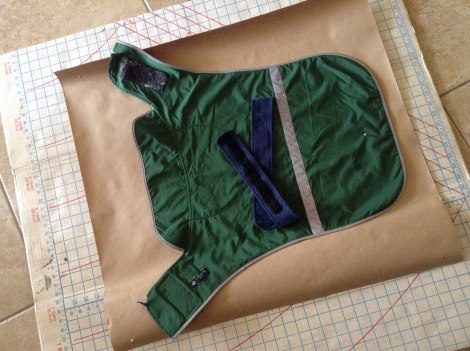
To start, I used Aspen’s softshell jacket as a guide to cut a pattern. If you don’t have a jacket to use as a guide, take a guess at the pattern and try it on your dog and adapt as needed. My pattern had four parts – the main body, two straps, and the collar. (View the update at the bottom of the post for adaptations.)
Using the patterns, cut out two material pieces for each pattern part with 1/4″ edge and one insulation piece for each pattern part. 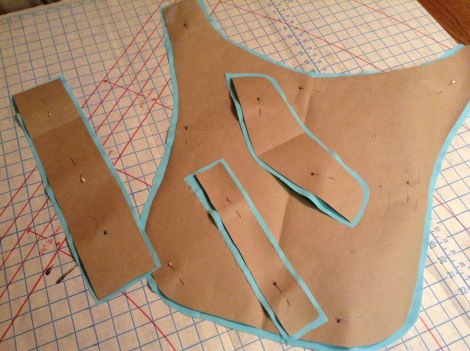
Make the three small parts of the jacket first. I started with the big strap, sewing three sides, with the elastic loop on one of the short ends, and left the long side open. I flipped the strap right-side-out and inserted the insulation, then folded the hem in on itself and sewed the strap closed. Then added a few quilts to help keep the insulation in place. When I sewed the smaller strap, I left a short side open for a smaller exposed stitch. I used the same method for the collar.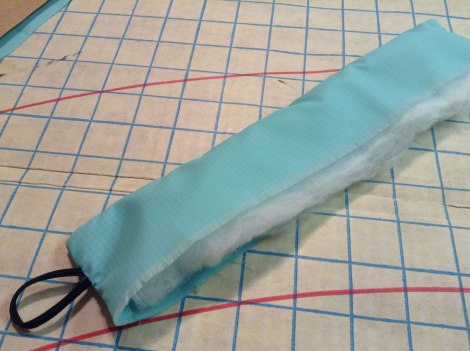
Sew the main body fabric and insulation together, leaving the collar area open to turn the jacket right-side-out. Don’t forget to include the loop closures on one of the front flaps/arms/straps (whatever you want to call it). 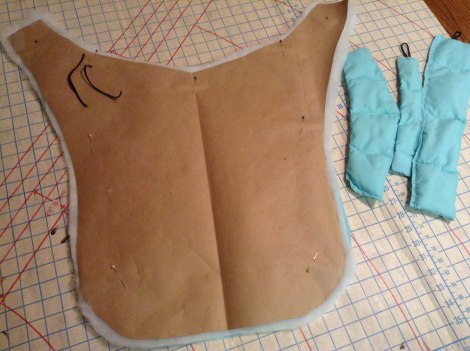
Once the jacket is right-side-out, insert the collar and fold the hem of the main body in and pin it for sewing. Then sew the collar on. Pin the main body for quilting. I used a topography-inspired quilting pattern, as I try to avoid sewing straight lines…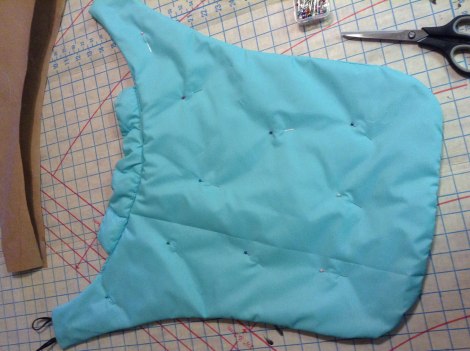
Quilt at least every 6 inches, mine were closer to 4 inches. Attach the straps using a rectangle pattern. Fit the jacket on your adventure pup to find the best location for the buttons and sew them on.

Last step – put the finished product on your adventure pup and head out for your favorite winter activity!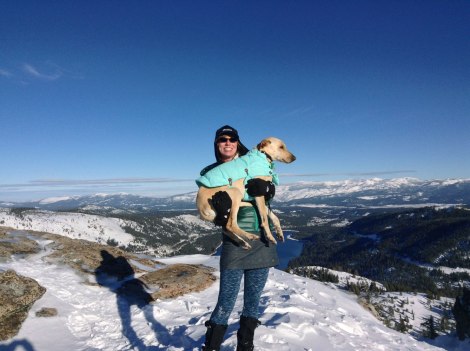
One of Aspen’s adventure pup friends put in a request for a down jacket, but with one big belly strap for more coverage and warmth. I’ll report back!
Stay warm,
Trails
Update – one big belly strap and an under button are the way to go!
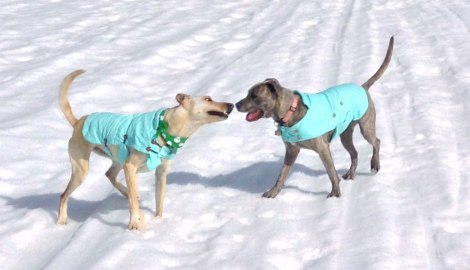
Ella (on the right) has a nice warm belly with one solid belly band with two button loops.
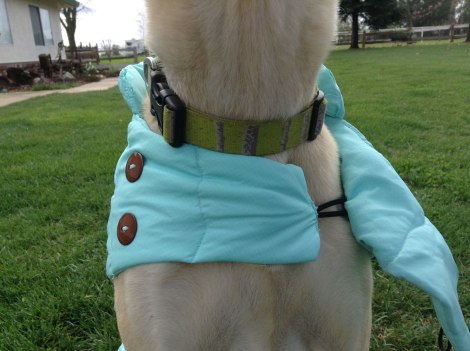
The added button on the inside keeps the inside flap in place.

What a great idea! I just got a sewing machine for Christmas, and I hadn’t even thought to try to DIY something like this, but my pup is a bit of a delicate flower, despite his love of adventuring, so it may be something I need to try!
I love your site, by the way! I got here through Pinterest and I’ll definitely be checking back in frequently!