
Here’s the plan, load everything in the back of the truck Thursday. Pile in Friday after work and drive across the Sierra to the trailhead. Sleeping bags are already set up in the back so we climb on in and snuggle up for a good nights sleep. That early morning sun shines in the shell of the truck as an alarm clock for an early adventure start.
Sounds perfect, right? One problem – truck payments… No thanks, onto plan B. Turning my CRV into a C-RVish. Internet research revealed that the rear seats are removable, but putting them back isn’t a simple process. Scratch that. Perhaps a removable platform that goes over the folded up seats. Hmm that would mean Aspen would have to ride up high on the platform, potentially flying out the window in the event of an accident. Nope, not happening. Alright, how about a platform for the back that is level with the folded down seats? Bingo!
Materials for sleeping platform:
– a sheet of plywood
– 16 L-brackets w/accompanying screws
– glossy polyurethane
– acrylic paints or outdoor carpet (depending on your plan for the top)
Tools for sleeping platform:
– sharpie, yard stick, cardboard
– ear plugs and eye protection
– circular saw
– circular sander
– paint brush, stir stick, paint can opener
To start, use cardboard to create a template to the size you need for a platform. I used miscellaneous items found in the garage (cat litter container, folded-up step stool, etc) to get the height needed for the platform level. Measure that height. For my 2008 CRV the platform is 41 inches wide; as for the length, it’s curved on one end, at the shortest point it’s 31.5 inches, at the longest part it’s 34 inches. The two support boards are 33.5 by 6.25 inches.

Platform template with marks for the support beams. I spaced them so boots would fit in the two side cubbies.
Outline the template on a piece of plywood. Also outline the support boards, in this case there are two that run the length of the platform, with enough width on the side cubbies to store boots. The height of the support boards is level with my folded down seats, minus the height of the plywood. I used a permanent marker to outline the template, a thin pencil may have been a better option since the thick marks had to be taken into account when using the circular saw to cut the pieces to keep the measurements correct. Safety first – ear plugs, eye protection, and watch your fingers!
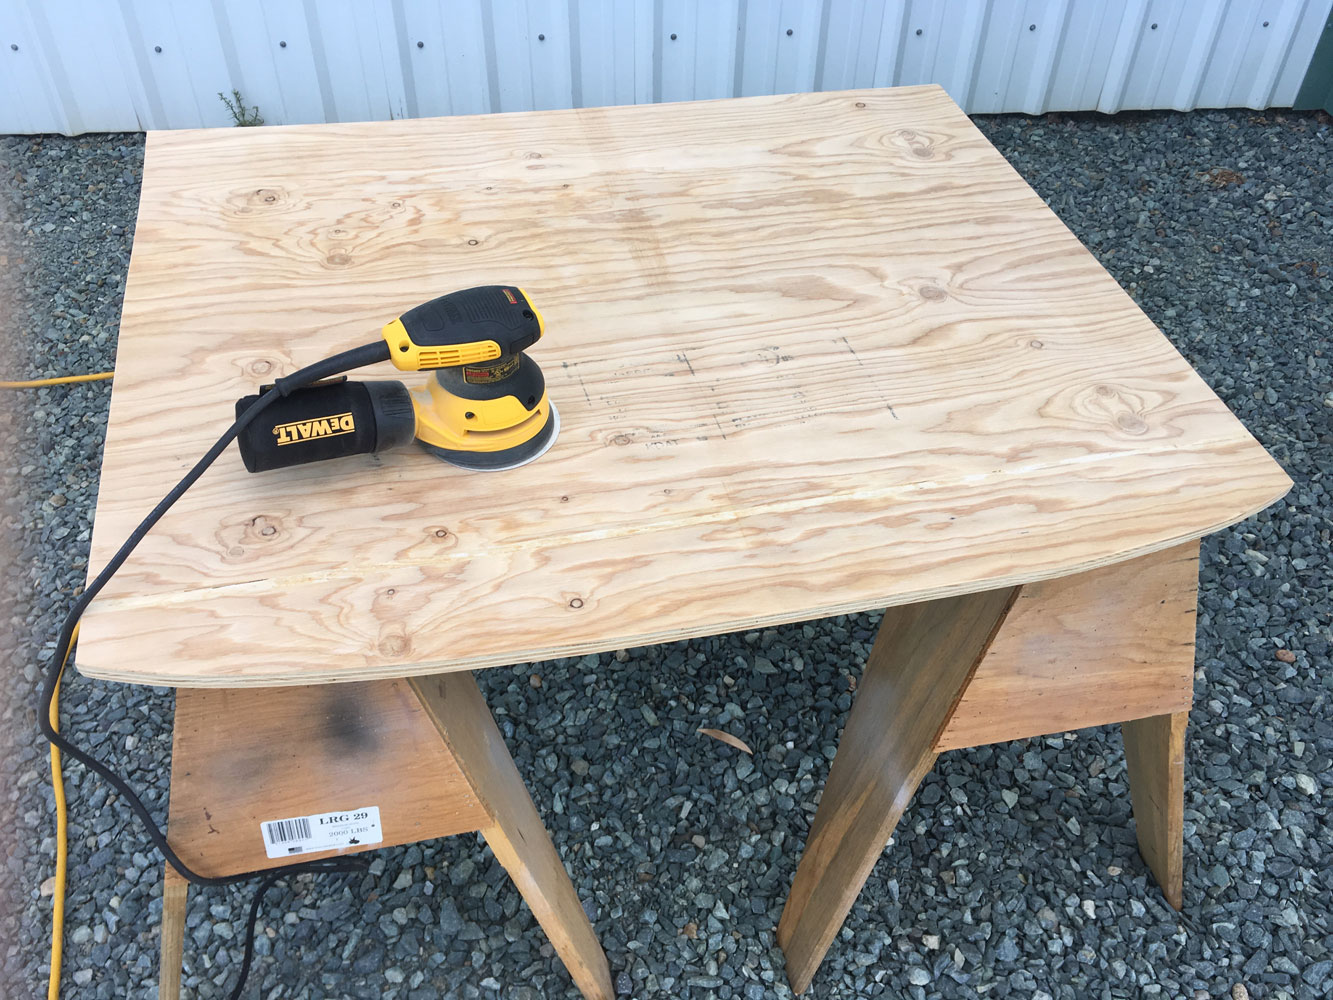
Use sand paper or a circular sander to smooth all of the surfaces, including edges.
Once all the surfaces were smooth, I coated the support boards and the bottom of the platform in glossy polyurethane, so the wood was water resistant and easy to clean. Then used L-brackets to attach the support boards to the platform. This may have been a bit overboard, but each board has eight brackets total – four on each side.
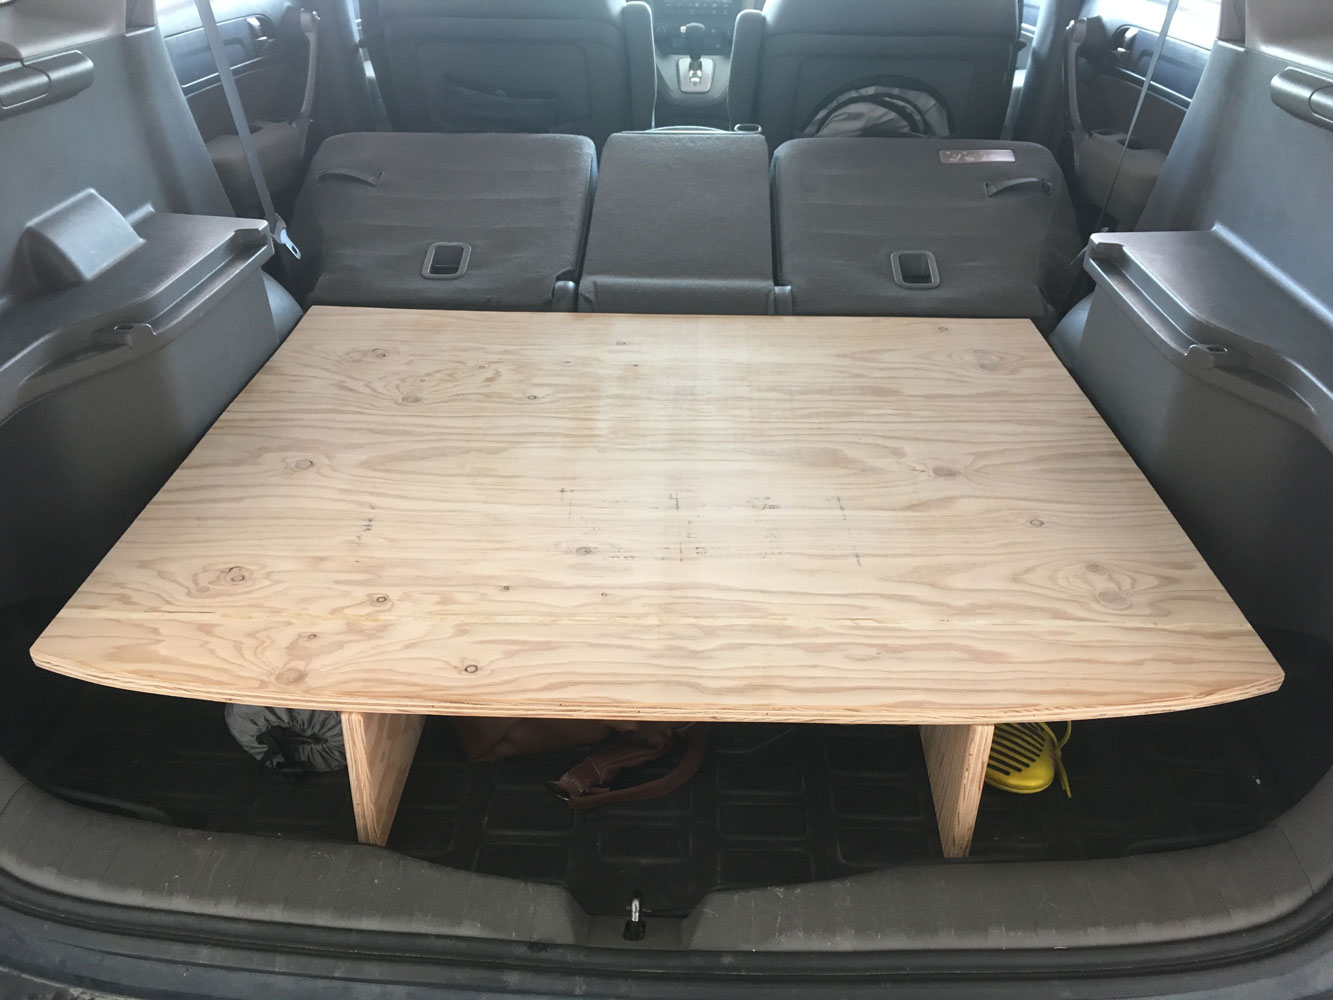
Test run – first step to the C-RV!
It is probably more practical to cover the platform with outdoor carpet or throw a non-slip mat on it. However, I wanted my platform to be an inspirational reminder to get outdoors, which is why it turned into a mural platform.

The beauty of acrylic paints – turn mistakes into wispy clouds.
Blue painters tape helped keep my mountain edges nice and straight. Plus I measured out the mountains to represent a few significant peaks in my life. My mountain crush, Mount Huxley, is on the right. In the center is Relay Peak – the highest point on the Tahoe Rim Trail. And towering over them is Mount Whitney. I chose how tall I wanted Mount Whitney to be and then calculated what percentage of that the other two would be.
For the John Muir saying, I found font that I liked on the computer and printed the wording to the size I wanted it. Lining up the paper and taping it down, I traced the letters hard onto the wood, this leaves a slight guide for those of us with mediocre handwriting to follow. For easy lettering, I used a paint pen.
After the mural was done, I covered the top and sides with the same glossy polyurethane.

Adding a little John Muir inspiration to the platform.
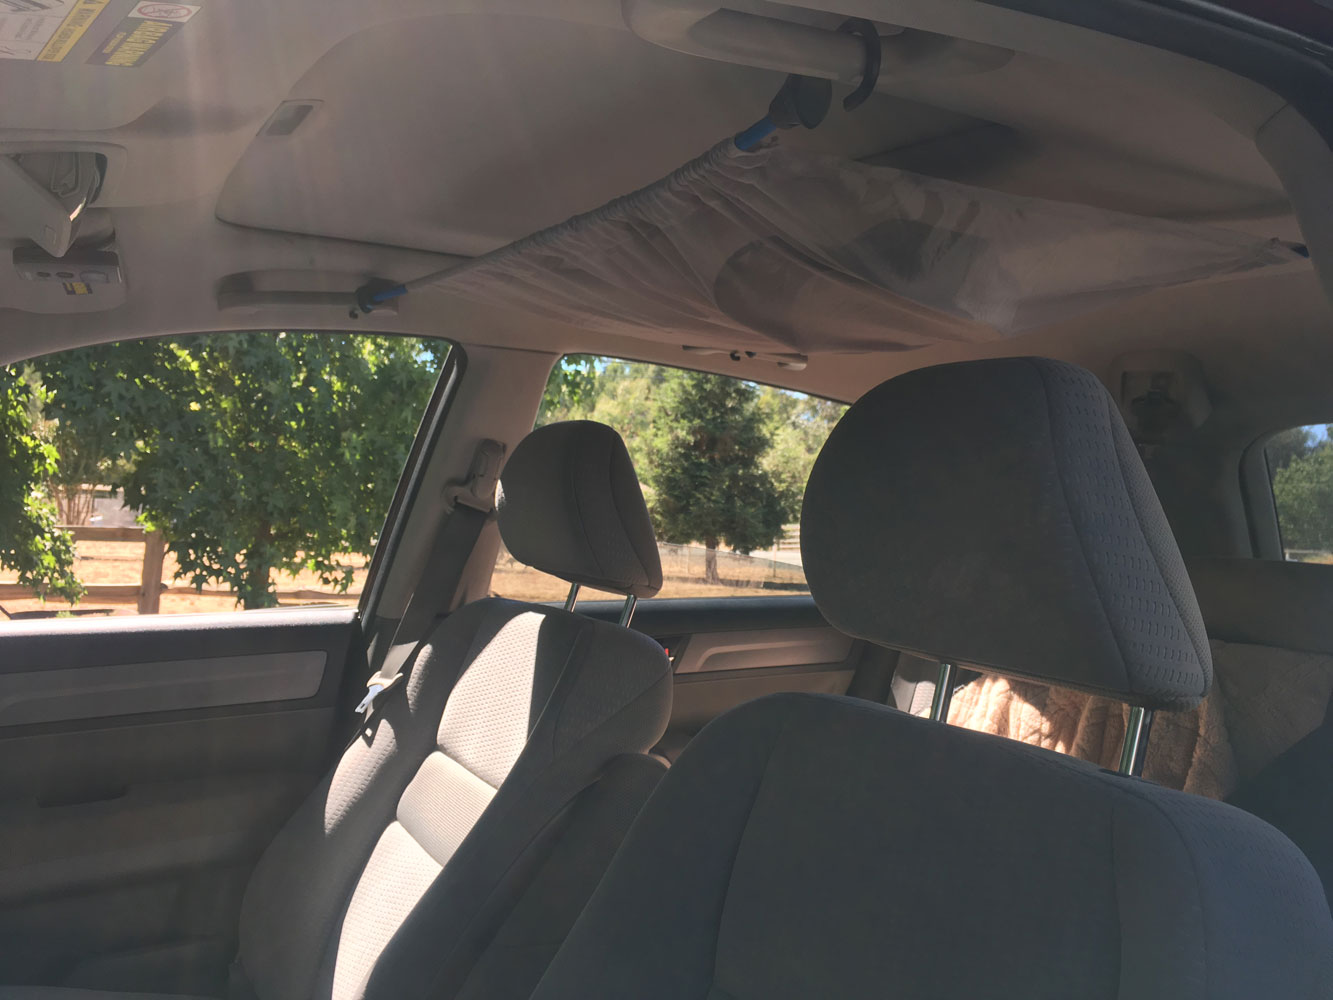
With the platform complete I added two more elements to my C-RV conversion. Using window screening from a hardware store, I sewed screens that slip over my windows and one that magnetically attaches to the roof over the moonroof. There are products out there if you’re not handy with a sewing machine. The Skeeter Beater sticks to the side of your car, but I am my father’s daughter and cringed at the idea of magnets rubbing around on the side of my dirty car. There are also sleeves for purchase from Skreenz, which is where I got the idea for the ones I created. However, I don’t want to take away from their business, so you’ll have to come up with your own adaptation or purchase some from them.
I also saw a neat idea in my research of a small cargo net hooked to the grab bars. I couldn’t seem to find a small enough cargo net at local stores so I created my own using two 36-inch bungee cords and some old tent mesh I had on hand. I put the two cords long ways across the car and measured the distance, then sewed sleeves for the cords to slip through.
DIY cargo net.
The platform was great for loading up adventure gear; nice little cubbies for boots, trekking poles, growlers, and more.
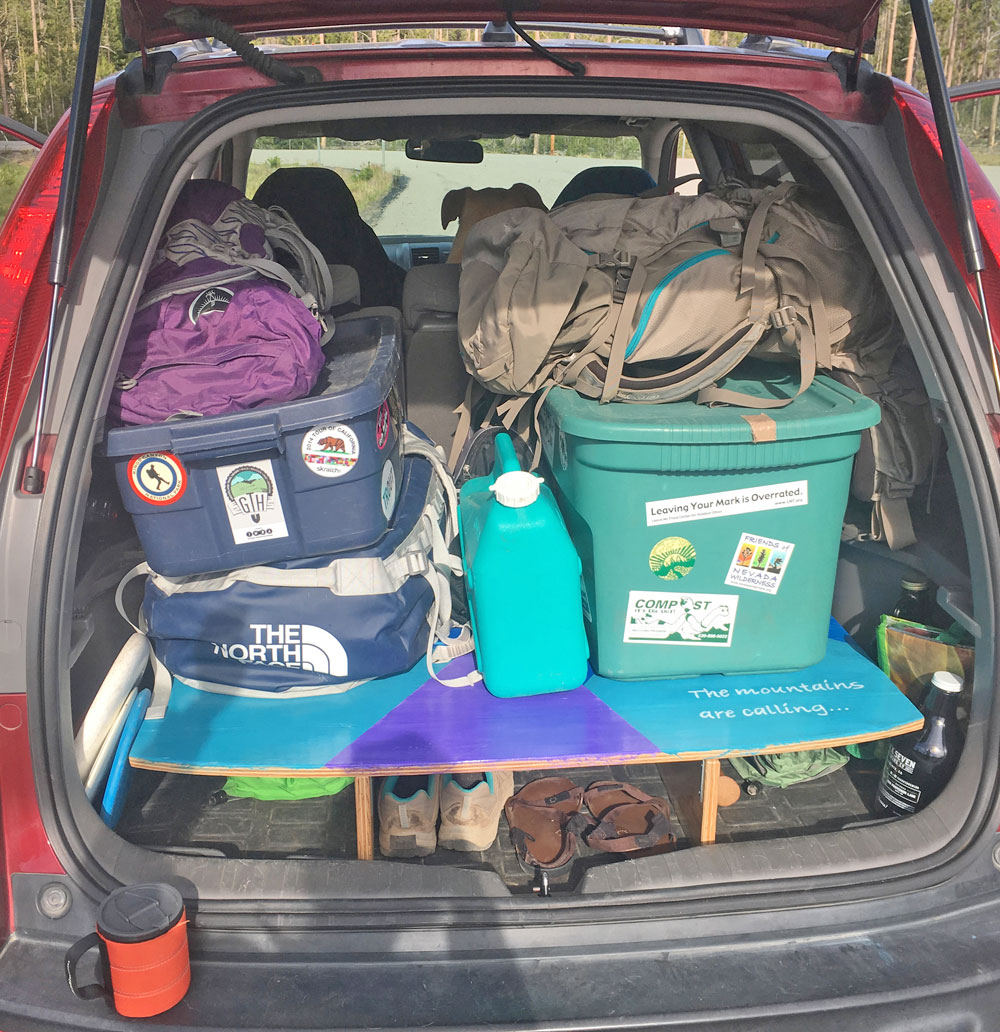
Loaded up and ready for adventure!
Plan B doesn’t allow for the beds to already be set up with Aspen in the back seat. However, it doesn’t take too long to shift gear to the front seats, inflate the sleeping pads, and throw out the sleeping bags. I will note Route and I are both 5’6″ and we have to pile some gear behind the front seats as a head rest. However, packs are a great height for such things. But, if you’re much taller than we are, this may not work with two people in the car.
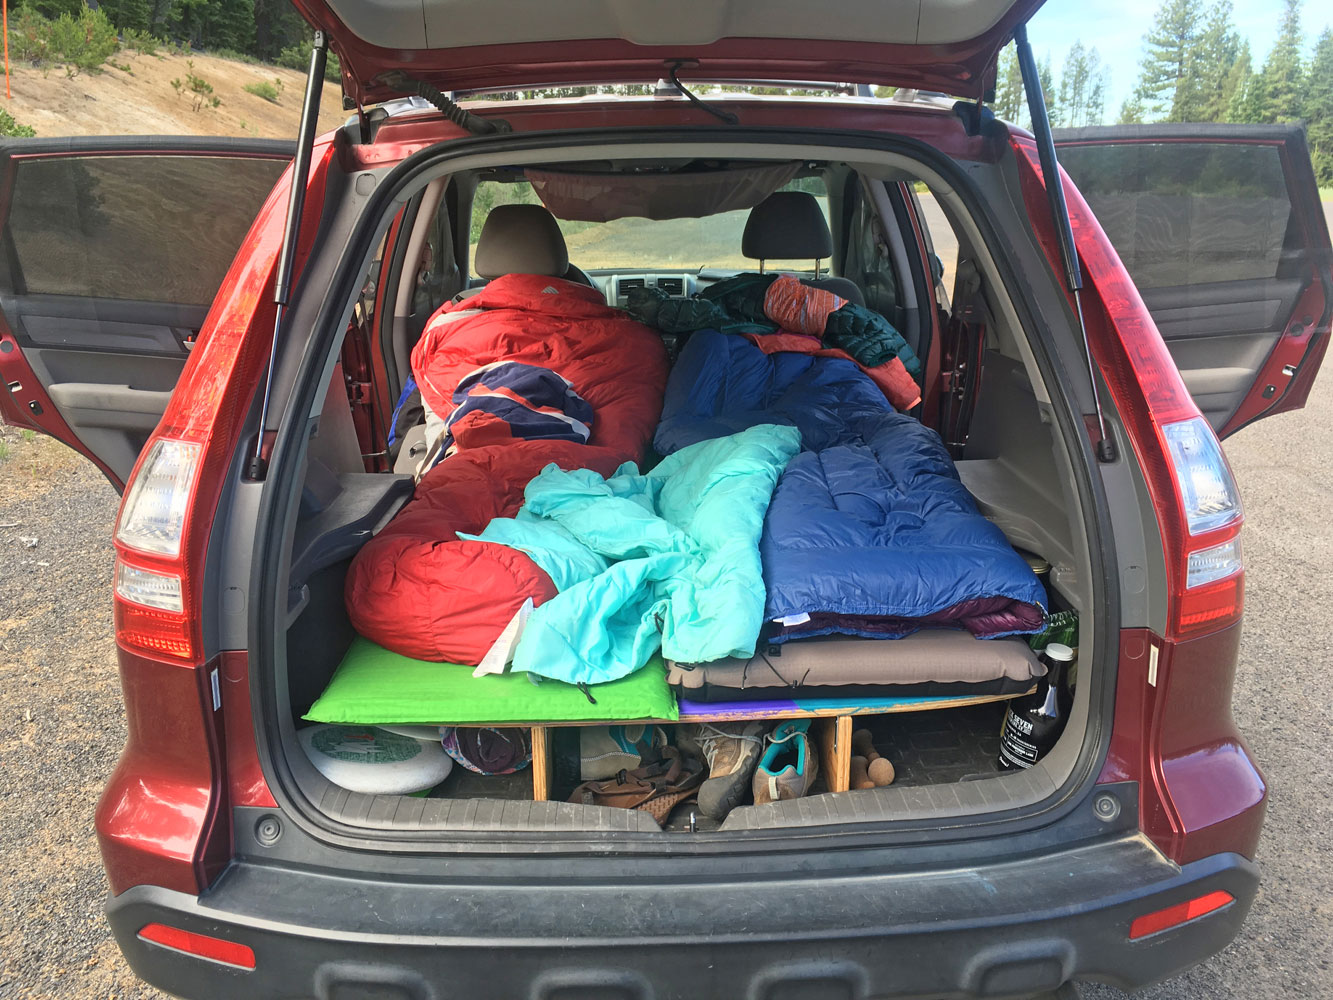
Sleeping bags set up and window screens on!
After packing up sleeping pads and bags, we sat on the platform to enjoy breakfast and discovered the one downside to the glossy polyurethane – as we leaned against the back seats our butts slowly started sliding forward. Aspen had no complaints though, it was just like tent time but she didn’t have to wait as long for me to set it up!

#TrailsBuiltAspenApproved
Happy,
Trails

I love this! I just drove across the country in my Element. I folded up the seats, made a platform in the back with storage underneath and an air mattress on top. It was perfect. But, I didn’t bring my dogs. Bringing them along on a trip will require some changes to the design.
Platforms in Hondas are the best! You were able to leave your seats in?
Yes, I kept them folded up, had a piece of plywood cut to fit, and placed it on top of 4 milk crates. The crates served as storage and left plenty of room to store other shorter items in between them. Here’s a link to my first leg of the trip blog post. It includes a not so great photo of the setup. http://wp.me/p76ipe-kI
BRILLIANT!!! I’m about to start looking for a new car and this opens up tons of options.
Awesome! I feel like more and more cars are having their seats fold flat, but a simple platform is a great backup. Happy (car) hunting!