
Aspen’s little blanket just wasn’t cutting it. She made this abundantly clear when she sprawled out on the communal dog bed at Pipeworks Climbing Gym and scoffed at her measly blanket puddled on the floor. I can take a hint, but I wasn’t lugging around a giant dog bed either. I remembered an old sleeping pad that would make a perfect compromise between comfort and packability with a fleecy cover.
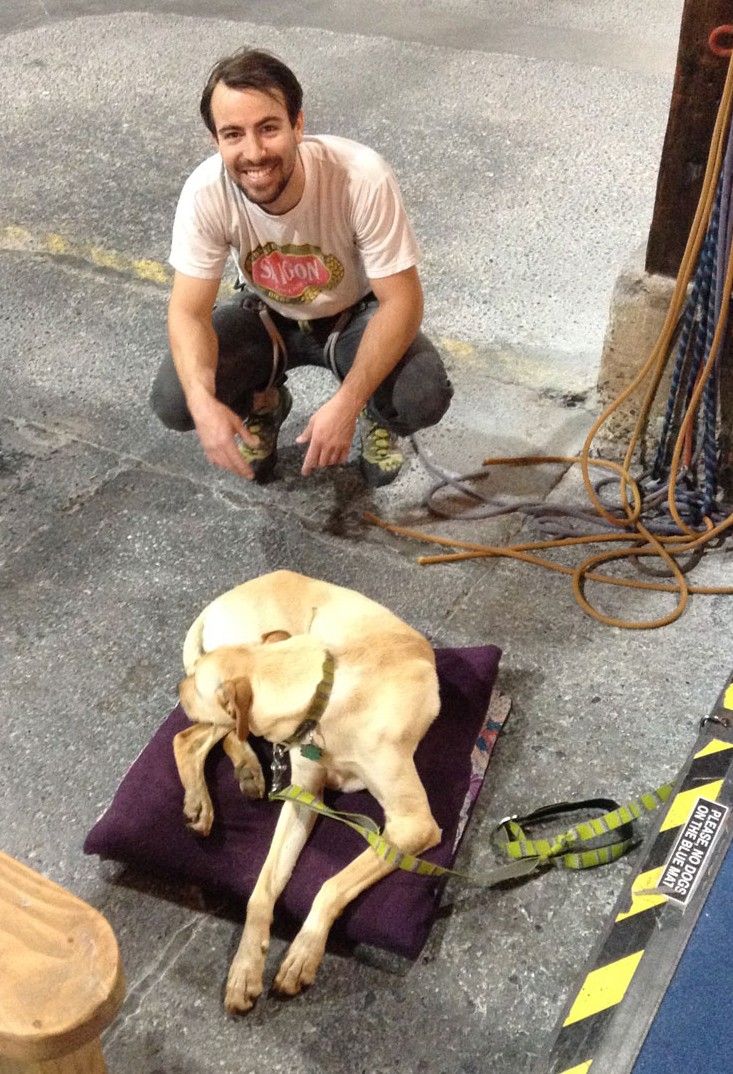
So comfy on her bed she didn’t even notice Route sneak up.
To make your adventure pup a comfy and portable new bed, find an old sleeping pad in your gear closet or pick one up at a thrift shop – measure it to determine how much fabric and how long of a zipper is needed. For the top I’d suggest something snugly like an anti-pill or micro fleece – perhaps you have an old blanket that fits the bill. For the bottom I suggest something durable, I went with some patio furniture-type material.
Materials for Aspen’s portable dog bed:
– Sleeping pad 21″x 48″
– Anti-pill fleece 23″x 50″
– Outdoor fabric 23″x50″
– Thread
– Zipper 26″ (24″ would have worked, but I already had this one)
If your fabric isn’t already the correct size, cut the fabric so it is an inch larger than the sleeping pad on all sides.

Sandwich fabric and pin.
Pick the side of each fabric you want showing once the bed is complete, sandwich those sides together so they’re touching. Pin the fabrics together along three sides of the pad – two long sides and one short, but leave a few inches of the long sides un-sewn on the open side so you can install the zipper. Be careful with pins if you’re using an inflatable sleeping pad!! Sew the pinned areas together.

Sew two long sides and one short.
Slide the sleeping pad in the cover to make sure it fits. Then either mark where to pin the zipper or lay the pad on top as a guide.

Make sure the pad fits before continuing!
Now for zipper fun…make sure your brain is in functioning order when attempting this. The zipper pull needs to be toward the inside, as in, you should be looking at the back of the zipper. With the zipper fully closed, pin one side of the zipper to the top fabric and the other to the bottom fabric. Once you get a five inch section pinned, unzip the zipper by that much – it’s a pain to try to unzip after you’re done pinning! Eventually you’ll want the zipper all the way open, so unzip as you pin or once you’re done, then sew the zipper in place.

Pinning the zipper.

Technically you don’t need a zipper foot, but it sure would make my lines a lot cleaner and hug right up against that zipper…
Trim excess fabric from the inside seam.

Potential extra step – remove cat from cover.
Flip the cover right-side-out, slip the sleeping pad in, zip the cover closed, and take your adventure pup climbing!

Sewing complete!
Aspen has now tested her bed at the climbing gym and in Owen’s River Gorge. For the steep hike into the gorge, I stored it in a stuff sack strapped to the side of my pack. Plus I think it’s comfy place to sit while putting on climbing shoes! This bed turned out to be a great compromise – easily packable and Aspen-approved.

Aspen’s bed was the envy of the other crag pups, this guy just hid it well.
Happy,
Trails

No before pick to see what the poor pup had to endure before?! #Aspen&thePea
Ha yes, because you know what a ruff life she led before this. 😉
This is an amazing idea. I really love your portable dog bed. With this portable dog bed, you won’t have to leave your lovely dog at home when you travel. From the looks of it, your dog seems to be enjoying her new dog bed. Thanks for having this article. It can really help pet owners out there.